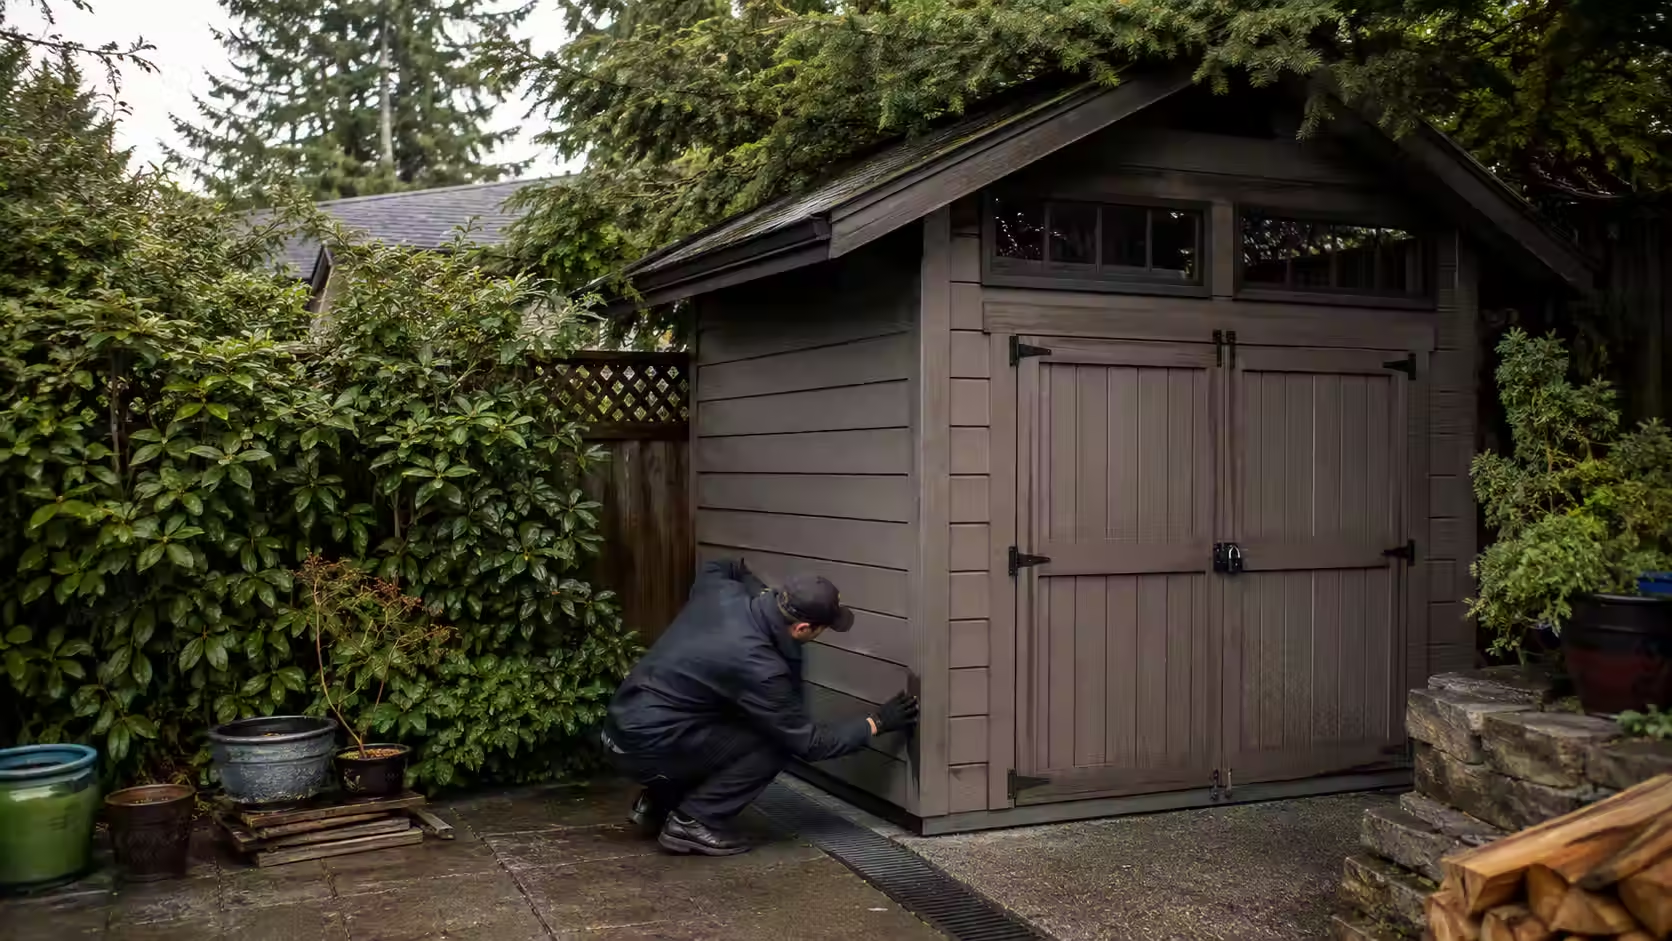
A backyard shed is useful for keeping tools, gardening equipment, seasonal decorations, and outdoor supplies out of the way. Unfortunately, it can also become an attractive hiding place for pests.
Sheds tend to be quiet, sheltered, and visited less often than the main house. Add stored boxes, nearby vegetation, small gaps in the structure, or moisture around deteriorating wood, and rodents, ants, spiders, and other pests may find exactly what they are looking for.
If you’re wondering how to keep pests out of your shed, the best place to start isn’t with traps or sprays. It’s with the conditions around the structure.
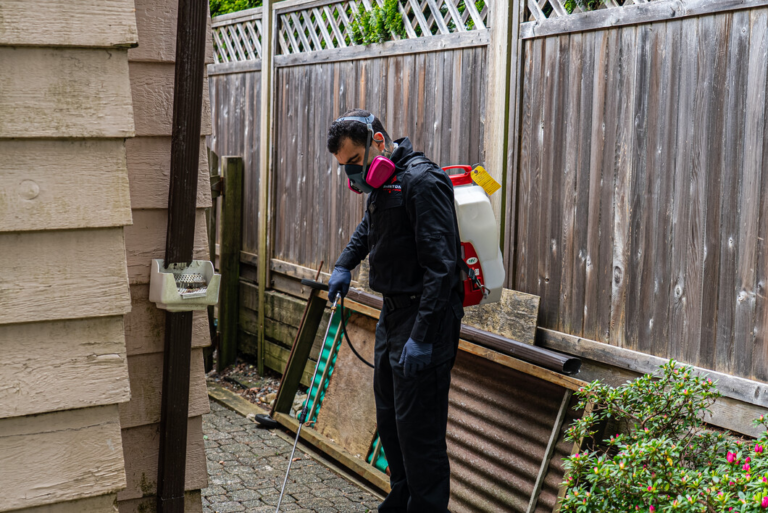
During a recent inspection at a property in West Vancouver, we walked around an outdoor storage area and identified several simple conditions that could make pest activity more likely. None of them were unusual—and that’s exactly the point. Many pest problems around sheds begin with everyday property conditions that are easy to overlook.
Here are eight practical ways to make your shed and surrounding storage areas less inviting to pests.
On this page14 sections
- 1. Keep Trees, Shrubs, and Vegetation Away From the Shed
- 2. Don’t Stack Belongings Against Exterior Walls
- 3. Inspect and Seal Gaps Around the Structure
- 4. Remove Easy Climbing Routes
- 5. Reduce Food Sources Inside the Shed
- 6. Deal With Rotten or Moisture-Damaged Wood
- 7. Keep the Inside Clean, Organized, and Visible
- 8. Inspect Your Shed Regularly
- What Pests Are Commonly Found Around Sheds?
- How to Pest-Proof a Shed Before Winter
- What Not to Do If You Find Pests in Your Shed
- Pest Prevention Starts With the Property
- When Should You Call a Pest Control Professional?
- Need Help With Pests Around Your Shed or Property?
1. Keep Trees, Shrubs, and Vegetation Away From the Shed
Start by looking up and around the structure.
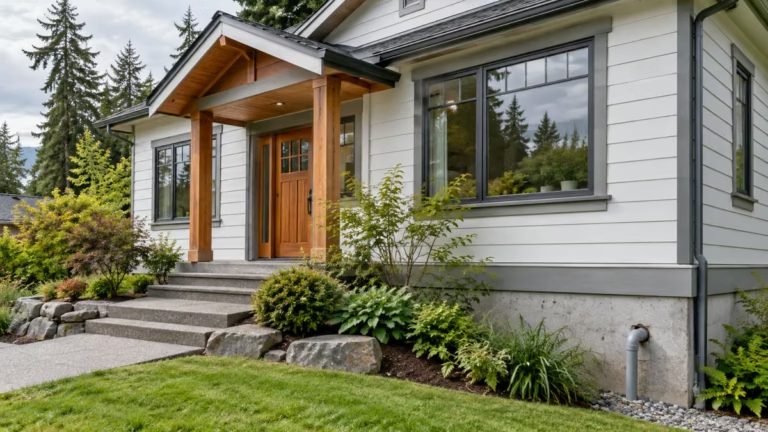
Tree branches touching or hanging directly over a shed can create convenient routes toward the roof. Dense shrubs and overgrown vegetation along exterior walls can also provide cover for rodents and create sheltered conditions for insects.
You don’t necessarily need a completely bare area around your shed. The goal is simply to prevent vegetation from resting directly against the structure and to maintain enough space to inspect the perimeter.
Trim back:
- Branches touching or overhanging the roof
- Shrubs growing tightly against exterior walls
- Vines climbing siding or fencing
- Dense groundcover around the foundation
This also makes it easier to spot burrows, droppings, damaged siding, ant trails, cobwebs, or other signs of activity before they become harder to manage.
2. Don’t Stack Belongings Against Exterior Walls
It is common to store lumber, garden pots, firewood, bins, tools, or unused materials beside a shed.
The problem is that tightly stacked belongings create dark, protected spaces that are rarely disturbed.
Those hidden areas can make pest activity much harder to notice.
Whenever possible, avoid piling materials directly against the exterior walls of your shed. Leave some visible space between stored items and the building so you can easily inspect the area.
The same principle applies inside.
Keeping storage containers slightly away from walls gives you a clear view of the perimeter and makes it easier to notice:
- Rodent droppings
- Gnaw marks
- Nesting material
- Ant trails
- Spider webs
- Damaged packaging
- Moisture or wood deterioration
An organized shed isn’t just easier to use. It’s easier to monitor.
3. Inspect and Seal Gaps Around the Structure
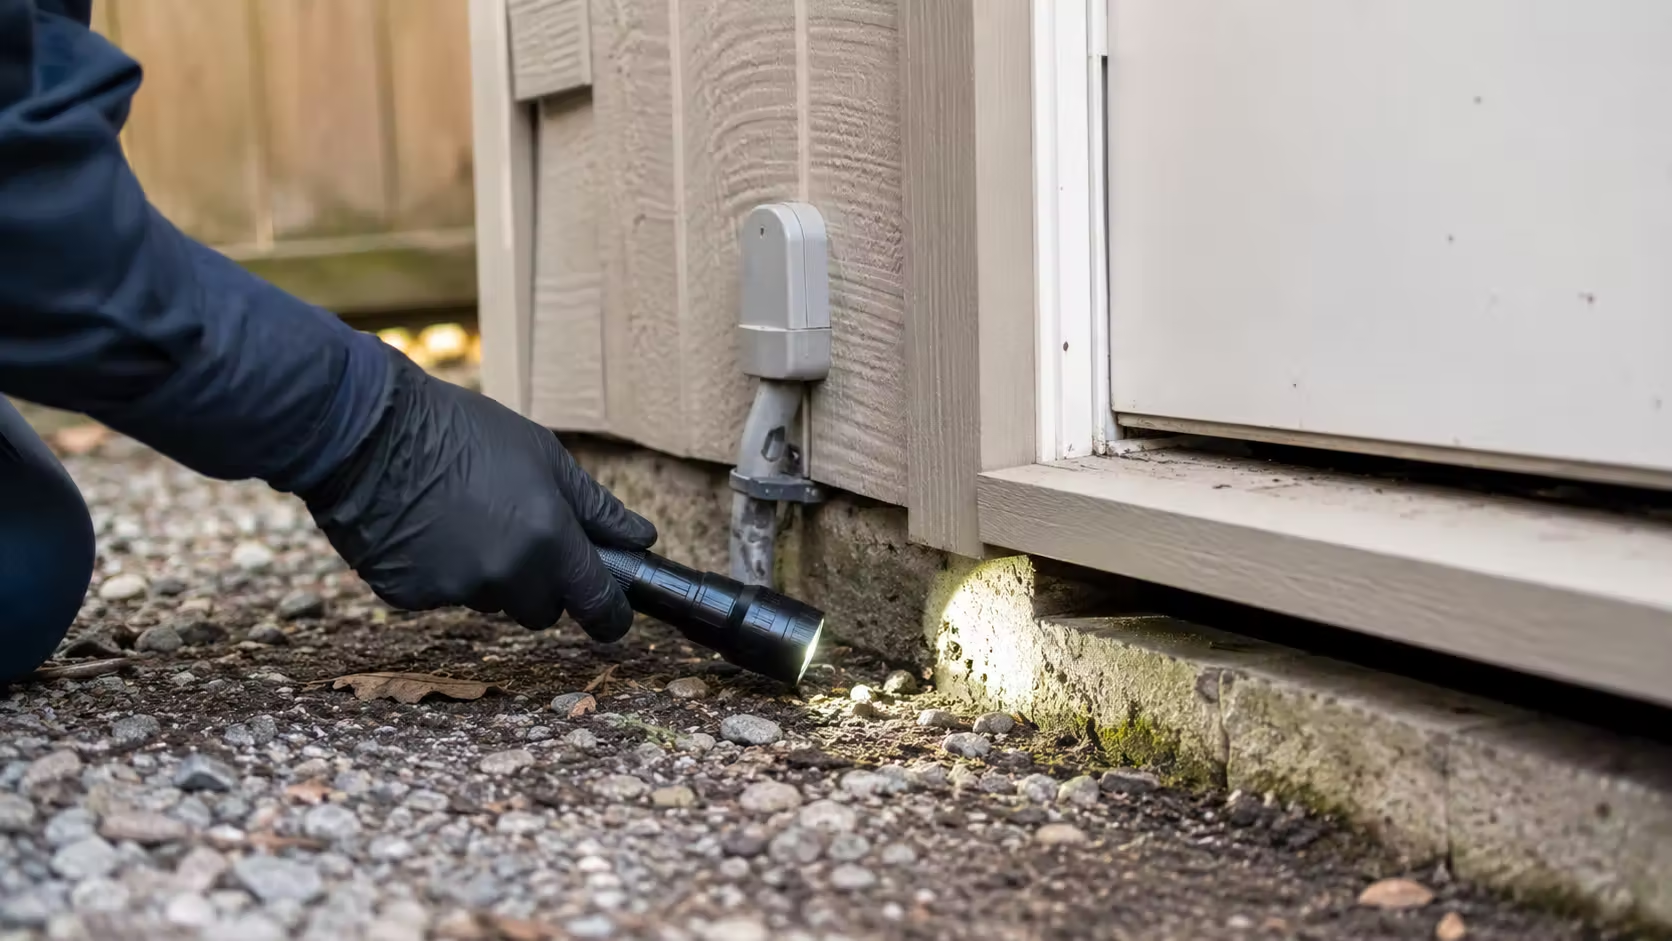
One of the most important steps in pest-proofing a shed is limiting potential entry points.
Walk around the exterior slowly and look closely at the areas where different building materials meet.
Pay particular attention to:
- Gaps beneath doors
- Damaged door frames
- Cracks around the foundation
- Openings in siding
- Gaps around pipes or utility lines
- Roof edges and roofline openings
- Damaged vents or screens
- Spaces where walls meet the foundation
Even openings that appear insignificant may deserve attention.
Mice, insects, and other pests often take advantage of weak points that homeowners rarely notice during normal day-to-day use.
Where appropriate, openings should be repaired or sealed using materials suitable for the structure and the type of gap involved.
If you’re dealing with repeated mouse or rat activity, simply removing the animals without determining how they entered may leave the underlying problem unresolved. Professional rodent control in Vancouver should include identifying access points and conditions that may allow rodents to return.
4. Remove Easy Climbing Routes
Some of the easiest access routes to overlook aren’t part of the building at all.
Extension cords, ropes, wires, holiday lights, cables, hoses, and similar items may run from the ground, a fence, nearby vegetation, or another structure toward your shed.
For climbing pests, these can potentially provide another path toward higher parts of the building.
Take a quick look around the shed and ask:
Is anything unintentionally connecting the ground or surrounding vegetation to the structure?
Where practical, remove unnecessary materials hanging against exterior walls or running directly toward the roof.
This is especially useful when trying to make the overall area less accessible to rodents and other capable climbers.
5. Reduce Food Sources Inside the Shed
Shelter is only part of what attracts pests.
Food can quickly turn an occasional visitor into a recurring problem.
Sheds are sometimes used to store:
- Bird seed
- Grass seed
- Pet food
- Animal feed
- Bulbs and seeds
- Garbage
- Recycling
- Barbecue supplies
Keeping these items in thin bags, cardboard boxes, or loosely closed containers can make them easier for rodents and insects to access.
Whenever possible, store food-related materials in durable, tightly sealed containers.
Clean up spills when they happen, and don’t leave loose seed or food debris on shelving or floors.
If you use your shed for gardening, periodically check old bags and containers that haven’t been moved for a while. These quiet corners are exactly the kind of places where activity can remain unnoticed.
6. Deal With Rotten or Moisture-Damaged Wood
If part of your shed, fence, deck, or nearby landscaping is beginning to rot, don’t treat it as only a cosmetic issue.
Moisture-damaged or deteriorating wood can contribute to conditions that support certain insects.
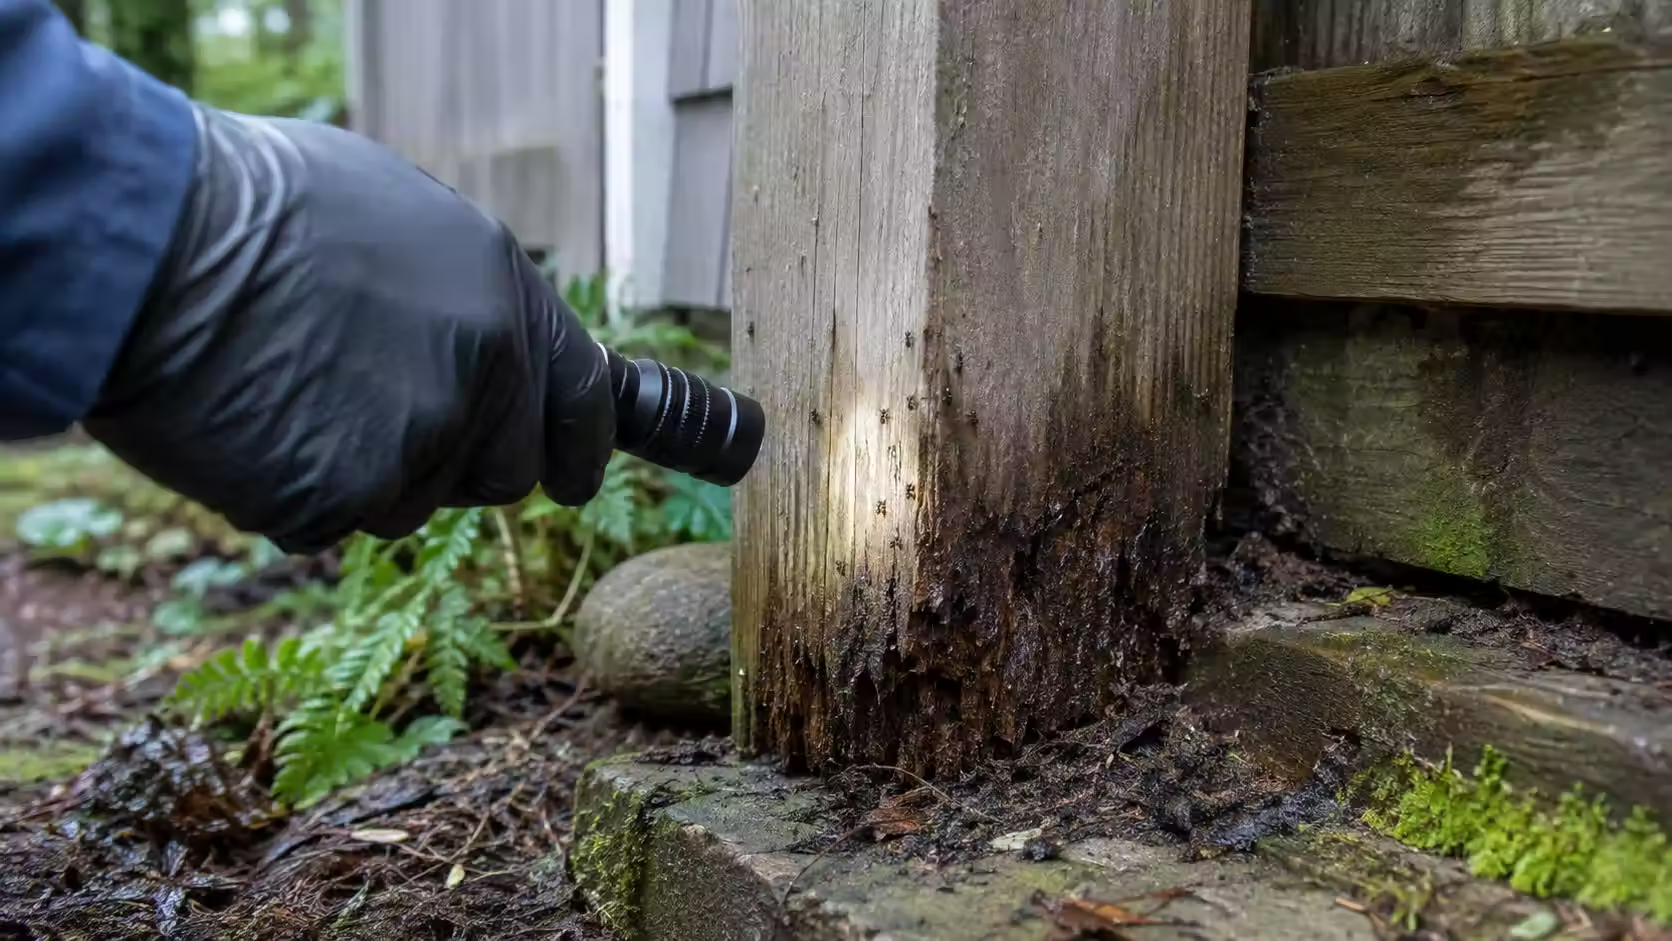
During the West Vancouver property inspection mentioned earlier, for example, some fence panels had begun deteriorating near the bottom. Conditions like these are worth paying attention to when assessing possible carpenter ant activity.
If you repeatedly find ants around damaged timber, understanding the species and the conditions supporting the colony is important. Phantom Pest Control provides professional ant control in Vancouver for issues including carpenter ants and other common ant species.
The better approach isn’t simply to treat insects when you see them.
Look for the condition that may be contributing to the activity in the first place.
Check:
- Fence posts
- Bottom sections of shed walls
- Door frames
- Wooden foundations
- Decking near the shed
- Landscape timbers
- Areas exposed to ongoing moisture
Repairing damaged wood and addressing moisture sources can be an important part of longer-term prevention.
7. Keep the Inside Clean, Organized, and Visible
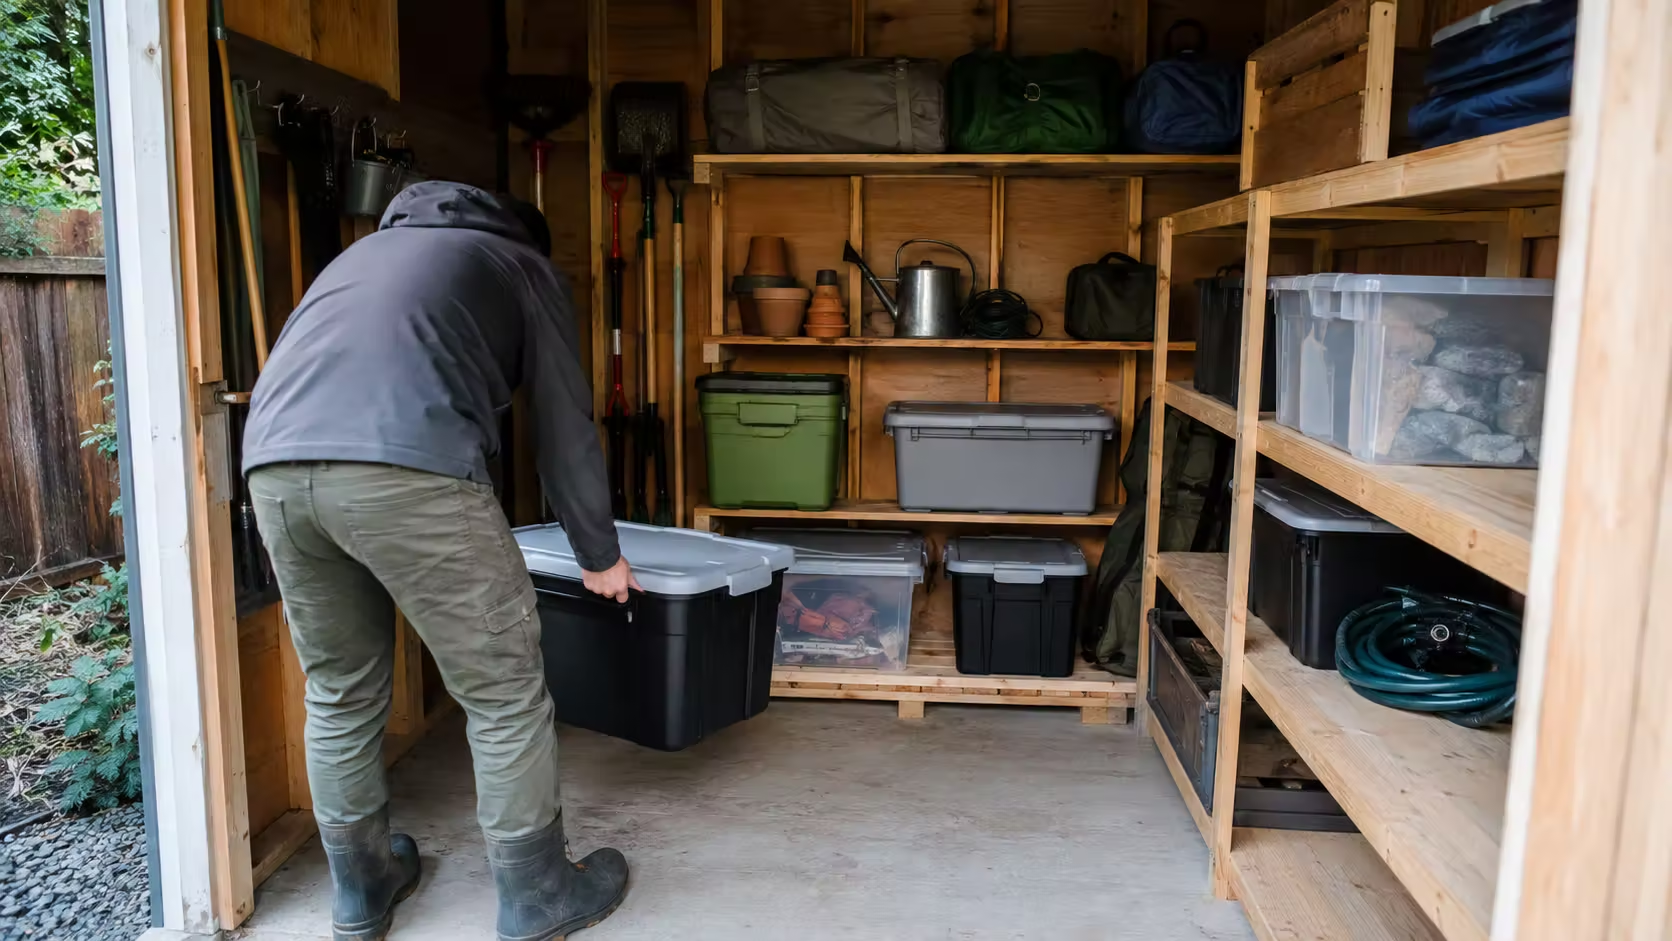
Nobody enjoys emptying an entire shed just to find out what is happening behind six years’ worth of boxes.
Fortunately, you don’t need a perfectly minimalist storage space.
You just need visibility.
Try to avoid creating large, undisturbed piles of cardboard, fabric, paper, or miscellaneous belongings. Whenever possible, use organized shelving and sturdy storage containers instead of leaving items directly on the floor.
Leave enough room to see:
- Floor edges
- Wall corners
- Shelving
- Door frames
- The area behind larger objects
Cardboard boxes are particularly worth monitoring because they can deteriorate, absorb moisture, and remain untouched for long periods.
If something hasn’t been opened in years, take a look inside before assuming everything is fine.
8. Inspect Your Shed Regularly
Pest prevention works best when problems are caught early.
A quick inspection every so often can tell you much more than waiting until you hear scratching inside a wall or find a large number of insects.
Walk around both the inside and outside of the shed and look for changes.
Common signs worth investigating include:
- New droppings
- Gnaw marks
- Torn bags or containers
- Unusual odours
- Nesting material
- New holes or gaps
- Ant trails
- Increased spider webs
- Burrows around the perimeter
- Damaged wood
- Scratching or movement sounds
Pay additional attention after heavy rain, major landscaping work, structural repairs, or long periods when the shed hasn’t been used.
Early signs are often easier to investigate than an established infestation.
What Pests Are Commonly Found Around Sheds?
Different properties attract different pests, but outdoor storage structures can provide suitable conditions for several common species.
Rodents
Mice and rats look for shelter, food, water, and protected nesting locations.
Clutter, stored bird seed or pet food, vegetation, and openings around a shed can all make the area more attractive.
Signs may include droppings, gnawing, damaged bags, nesting material, or scratching sounds.
If these signs keep returning even after cleaning and sealing obvious gaps, the problem may require a more complete inspection of the structure and surrounding property.
Ants
Ant activity around sheds may be associated with soil, landscaping, moisture, food sources, or deteriorating wood, depending on the species.
Repeated activity should be assessed rather than assuming every ant problem has the same cause.
Spiders
Seeing an occasional spider in an outdoor structure isn’t unusual.
However, significant spider activity can sometimes indicate that the area also supports plenty of insects for them to feed on.
Reducing clutter, improving visibility, and managing insect activity around the structure can therefore be more useful than simply removing individual webs.
If spider activity becomes persistent around your home, shed, garage, or other structures, professional spider control in Vancouver can help determine where spiders are concentrating and what may be attracting them.
Wasps and Other Insects
Protected roof edges, wall cavities, gaps, vegetation, and quiet corners can also provide suitable locations for wasps and various crawling or flying insects.
Regular inspections make it easier to identify changes before nests or populations become well established.
How to Pest-Proof a Shed Before Winter
Although pest prevention should be considered throughout the year, fall is a particularly useful time to inspect outdoor structures.
As temperatures drop and weather becomes wetter, sheltered spaces can become increasingly attractive to rodents and other pests.
Before winter:
- Trim vegetation away from the structure.
- Inspect the roof, siding, doors, and foundation for gaps.
- Remove unnecessary clutter.
- Place food-related products in sealed containers.
- Check for moisture and damaged wood.
- Look behind stored items for droppings or nesting material.
- Remove unnecessary climbing routes around exterior walls.
You don’t need to wait until cold weather arrives, though. These are useful maintenance steps at any time of year.
What Not to Do If You Find Pests in Your Shed
Finding signs of activity doesn’t automatically mean you need to empty a can of pesticide around the building.
Before taking action, try to determine what you’re actually dealing with.
Avoid relying entirely on random sprays, traps, or DIY treatments without first considering:
- What pest is present?
- Where is it entering?
- What is attracting it?
- Is there food or moisture nearby?
- Is the activity inside the shed or coming from outside?
- Are there structural conditions contributing to the problem?
The same principle applies to pest problems elsewhere in the home. For example, our guide on how to get rid of kitchen bugs explains why identifying the pest, breeding source, moisture conditions, and entry points is often more effective than simply treating the insects you can see.
Treating what you can see while ignoring why the pest is there may provide only temporary relief.
A better pest-management approach looks at both the pest and the property conditions supporting it.
Pest Prevention Starts With the Property
Learning how to keep pests out of a shed isn’t really about finding one product or one trick.
It comes down to making the environment less useful to pests.
That means managing vegetation, reducing clutter, closing potential entry points, protecting stored food, repairing deteriorating materials, removing easy climbing routes, and regularly checking for signs of activity.
These steps won’t guarantee that a pest will never appear around an outdoor structure. Sheds are part of an outdoor environment, after all.
But good property maintenance can reduce many of the conditions that allow problems to develop unnoticed.
And when activity does appear, a clean and accessible storage area makes it much easier to determine what’s happening and what should be done next.
When Should You Call a Pest Control Professional?
A single spider or an occasional insect doesn’t necessarily indicate an infestation.
Professional assessment becomes more appropriate when you notice ongoing or unexplained activity, including:
- Repeated rodent droppings
- Persistent scratching sounds
- Recurring ant trails
- Evidence of nesting
- Significant gnaw damage
- Repeated damage to stored materials
- Pest activity continuing after entry points have been addressed
- Signs appearing in both the shed and the main building
In these situations, identifying the species and understanding how it is using the property can help determine the right next step.
Need Help With Pests Around Your Shed or Property?
If you’ve noticed rodents, ants, spiders, or other pest activity around your shed, outdoor storage area, home, business, or managed property, Phantom Pest Control can assess the situation and help identify what may be contributing to the problem.
Rather than focusing only on the pest you can see, a professional inspection can look at entry points, surrounding vegetation, structural conditions, moisture, food sources, and other factors that may be supporting ongoing activity.
Phantom Pest Control provides professional pest inspection, treatment, prevention, and pest-management services for residential, commercial, and managed properties across Vancouver and surrounding service areas in British Columbia.
Contact Phantom Pest Control to discuss pest activity at your property.