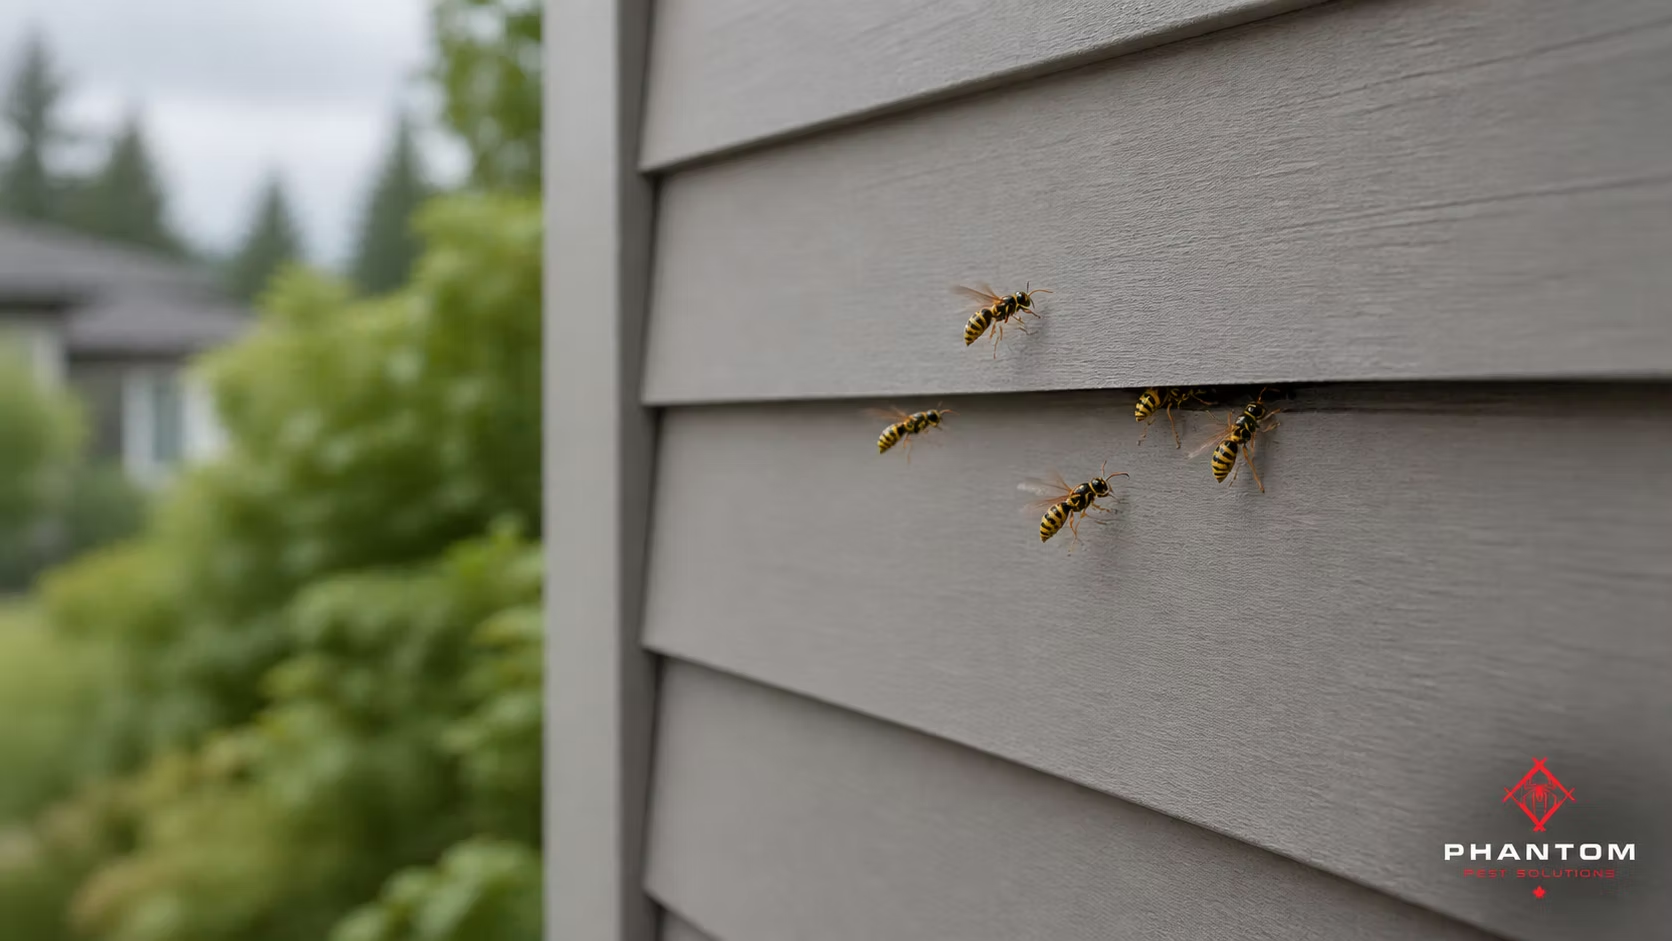
You noticed it while doing yard work: a handful of wasps circling the same spot near the bottom of your siding, disappearing into a gap, then reappearing minutes later. It’s not your imagination, and it’s not a random flyby. When wasps repeatedly return to one exact location on your exterior wall, that is usually a sign they have built a nest in the cavity behind the siding rather than simply passing through your yard.
A nest hidden behind siding is trickier than one hanging in the open under an eave. You cannot see how large the colony is, you may not be able to identify the species safely, and spraying into the entry point can do little more than agitate the colony. This guide explains how to confirm what is happening behind your wall, what to do—and avoid doing—when you find an active nest, and how repairs should be handled once the wasps are gone. If you need help with a hidden or active nest, Phantom Pest Control can inspect the area and provide professional wasp treatment for homes throughout the Lower Mainland and Fraser Valley.
On this page7 sections
- How to Tell Whether Wasps Are Nesting Behind the Siding
- What to Do When You Find an Active Nest
- Should You Leave the Nest Alone or Call a Professional?
- How a Nest Behind Siding Is Treated and Checked for Activity
- How to Repair the Entry Point and Prevent Another Nest
- Conclusion: Resolve the Nest Before Repairing the Siding
- Frequently Asked Questions
How to Tell Whether Wasps Are Nesting Behind the Siding
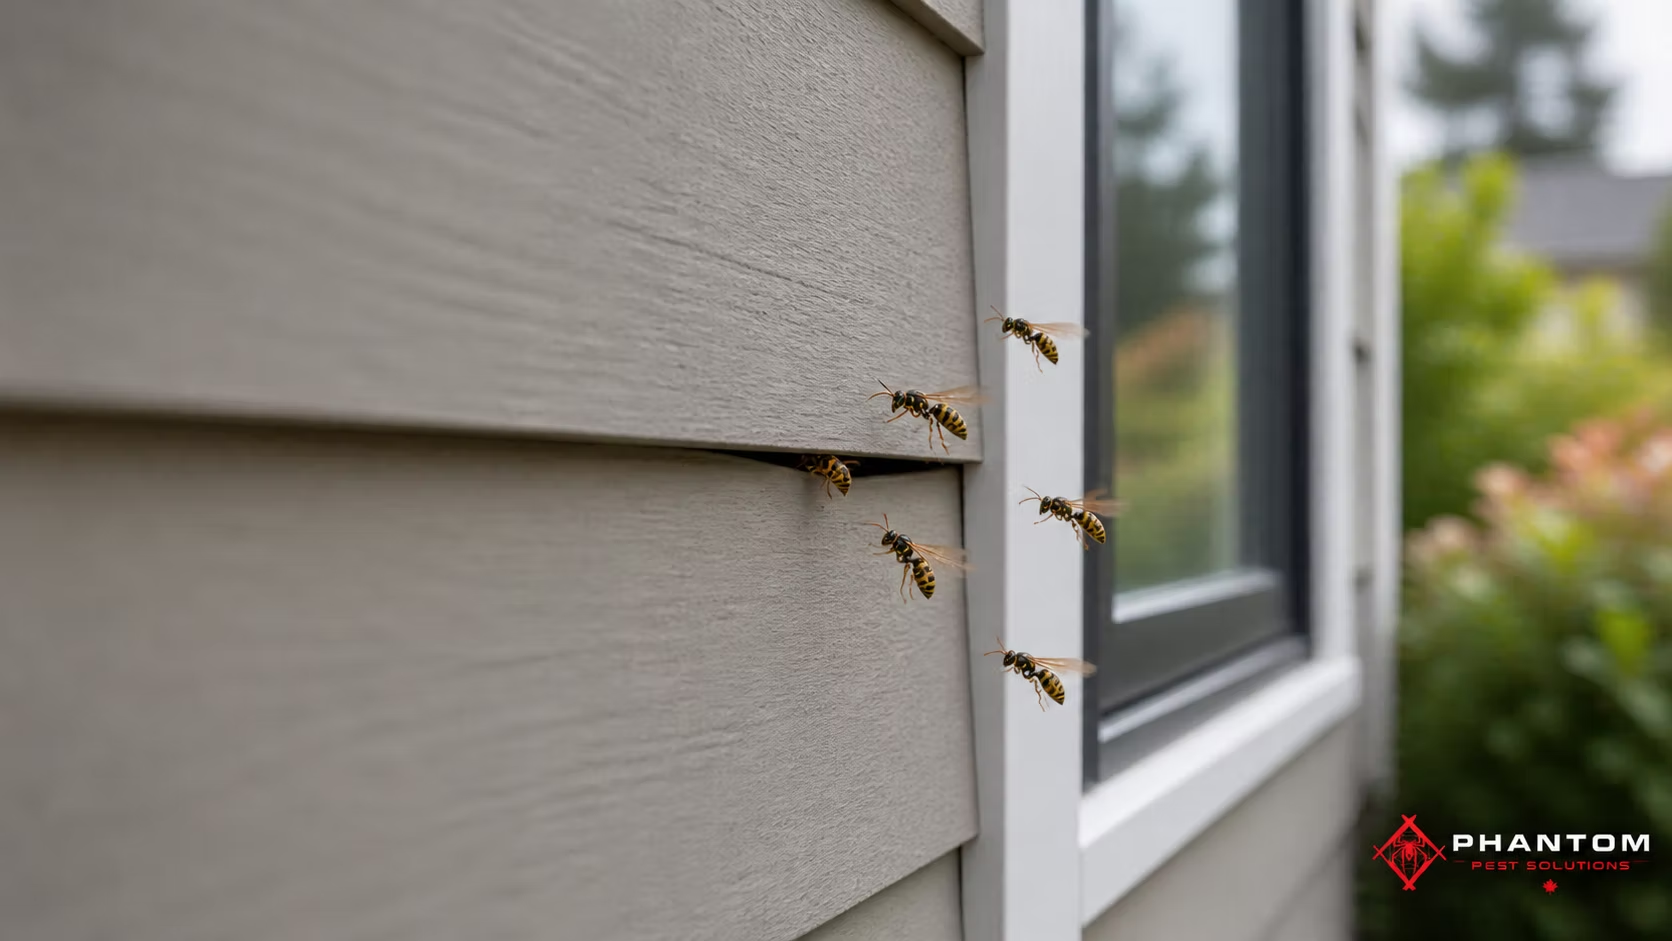
The first step is confirming you actually have a nest in the wall cavity, rather than wasps simply passing through your yard on their way to a nest elsewhere. The behavior pattern is the giveaway, and it’s fairly easy to observe if you’re willing to stand back and watch for a few minutes.
Watch for repeated flights into one gap or seam
Pick a warm, calm part of the day, ideally between mid-morning and mid-afternoon when foraging activity peaks, and watch the suspicious area from a safe distance for ten to fifteen minutes. If you see wasps flying to the same crack, seam, utility penetration, or siding gap over and over, entering and leaving rather than just landing and moving on, that’s a strong indicator of an active colony inside the wall. Pest control technicians generally treat anything more than five or six wasps using the same entry point in a 15-minute window as confirmation of an established nest, rather than a few strays.
Traffic tends to build steadily through the day and taper off around dusk, since foraging workers return to the nest as the light fades. Some homeowners also notice a faint buzzing or scratching sound coming from inside the wall on warm afternoons, along with occasional warm patches on the interior drywall directly behind the entry point, both signs of colony activity generating heat inside an enclosed space. Fine, papery debris or small chewed holes near siding seams, vents, or utility lines are another clue, since wasps often widen existing gaps rather than create new ones from scratch. For a closer look at what a developing colony looks like at each stage, our guide on getting rid of wasp nests walks through how quickly a nest can grow once a queen settles into a spot like this.
What you should not do at this stage is start knocking on the wall or poking at the gap to get a better look. Vibration and disturbance can provoke wasps into swarming out toward the noise, which is a bigger problem when you’re standing right next to the wall.
Distinguish yellowjackets and paper wasps from bees
Getting the identification right matters because it changes both the urgency and the treatment approach. Bees and wasps are often confused at a glance, but a few visual cues make the difference clear once you know what to look for.
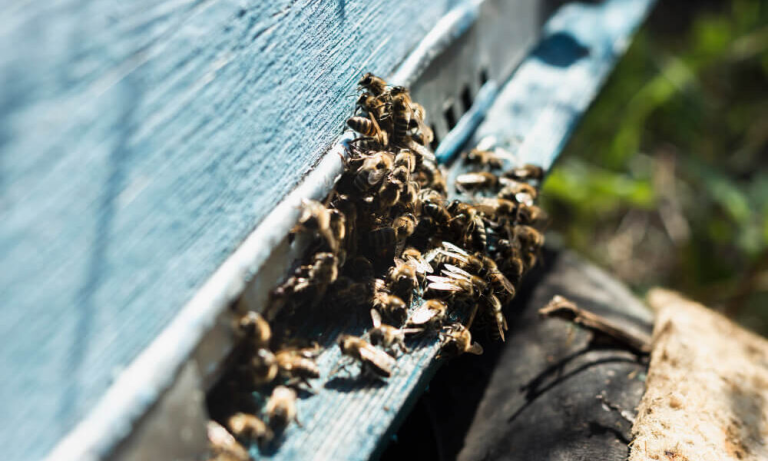
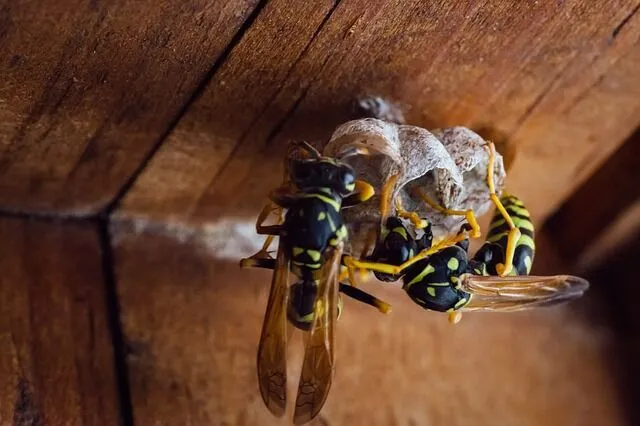
Bees have stocky, rounded bodies covered in visible branched hair, which is what lets them carry pollen, and their legs are broad and flattened. Wasps, by contrast, have smooth, shiny bodies with a pronounced narrow “waist” between the thorax and abdomen, and their legs are thin and cylindrical, often dangling visibly during flight. Coloring is a weaker clue than most people assume, since both groups can show yellow-and-black banding, but wasp coloring tends to look brighter and more hard-edged, almost hi-vis, while bees lean toward a muted amber or golden-brown.
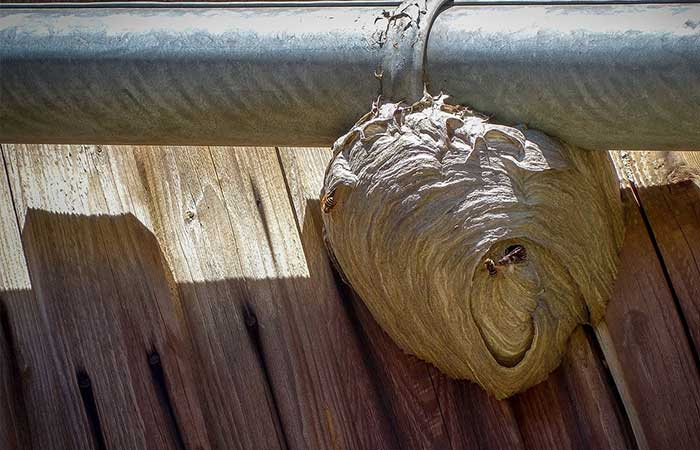
Within the wasp family, the nest structure itself tells you which species you’re facing. Paper wasps build small, open, umbrella-shaped combs where you can see the individual hexagonal cells from below, usually tucked under eaves or overhangs, and they’re generally the least aggressive of the group unless the nest is disturbed directly. Yellowjackets are the ones most likely to be hiding behind siding, since they favor enclosed cavities: their nests are fully wrapped in a gray, papery, multi-layered shell with a single entrance, and the colony inside can grow to several thousand workers by late summer. Yellowjackets are also markedly more defensive than paper wasps and will sting repeatedly when a nest is threatened, which is one more reason a hidden colony behind siding deserves extra caution.
What to Do When You Find an Active Nest
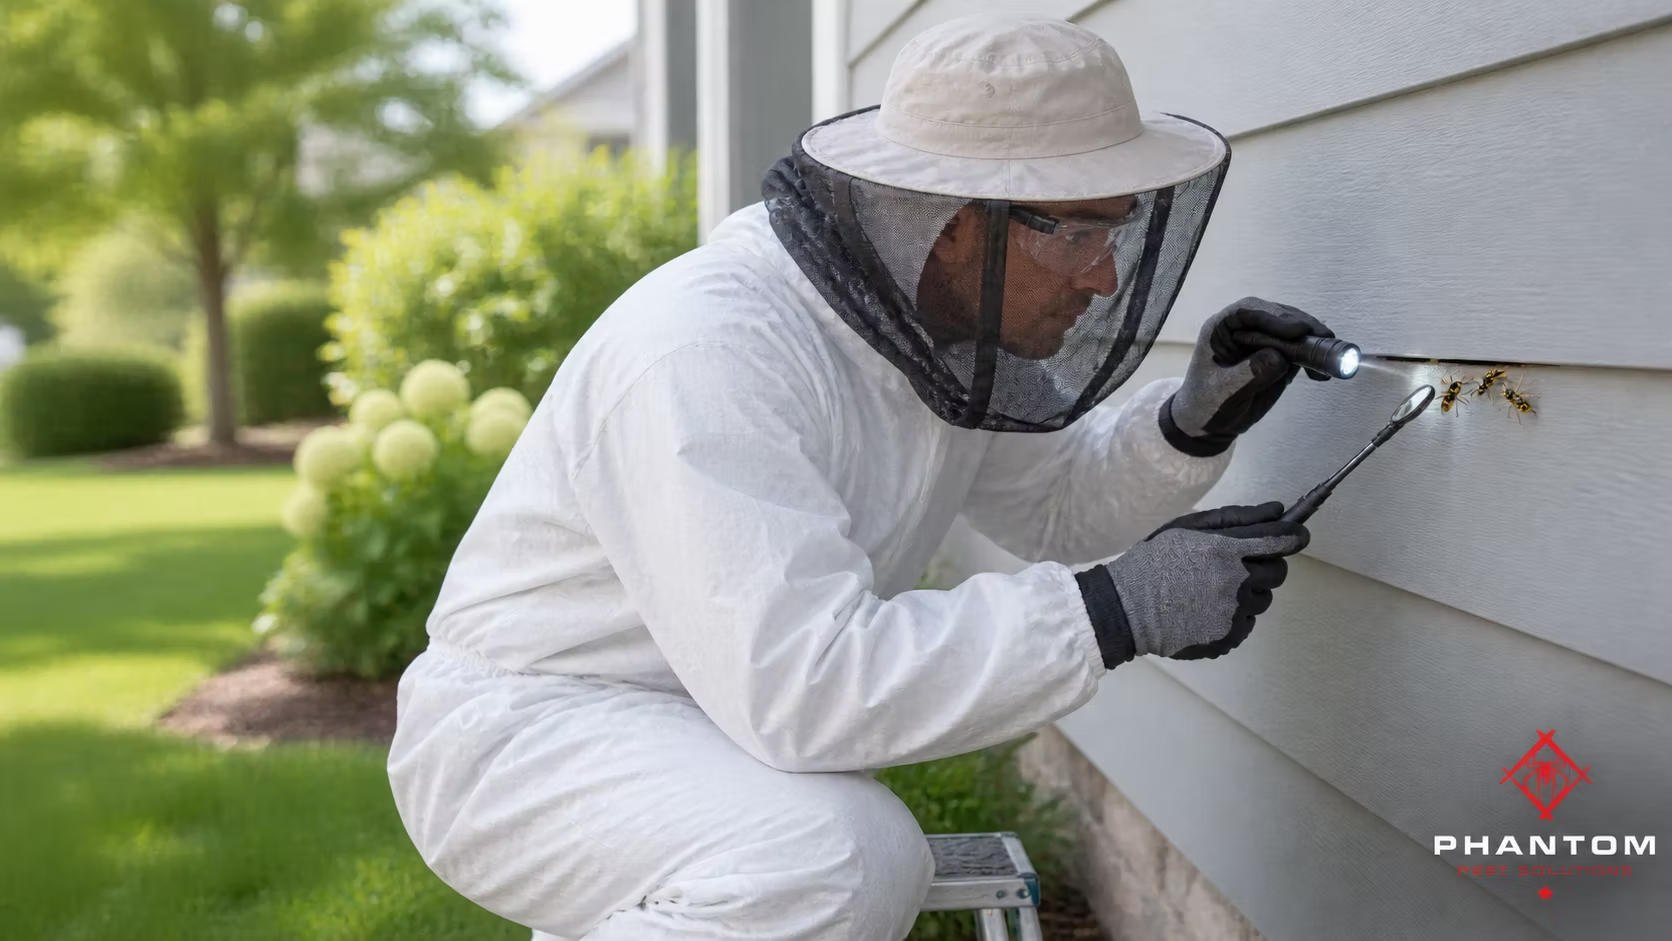
Once you’ve confirmed wasps are using a consistent entry point in your siding, the next few decisions matter more than anything else in this process. Acting too fast, or acting in the wrong way, is what turns a manageable nest into a house call for stings.
Keep people and pets away from the entrance
Set a mental perimeter around the entry point and keep kids, pets, and foot traffic clear of it, especially if the gap sits near a doorway, walkway, patio, or a spot where the lawn gets mowed or trimmed regularly. Wasps defend the airspace immediately around their nest, and a lawnmower, weed trimmer, or even a bouncing ball landing nearby can be read as a threat. If the nest is near a high-traffic area like a front entry or a play space, that alone is a reason to treat the situation as more urgent than a nest tucked into a rarely used side wall.
It’s also worth noting that stings from social wasps like yellowjackets are cumulative in risk: someone with a known sting allergy, or a household with small children who can’t reliably keep distance on their own, should treat any active nest near living spaces as a priority to resolve rather than something to monitor for a season.
Do not seal the opening or pull off siding while wasps are active
This is the single most common mistake homeowners make, and pest professionals flag it consistently: sealing the entry point while the colony is still alive traps live wasps inside the wall, and their only way out at that point is to chew through drywall into the living space. A wall void that seems like a contained nuisance outside can become a much worse problem indoors if the exit gets blocked before the colony is actually dead.
The same logic applies to prying off siding panels or drilling into the wall yourself to “check” on the nest. Disturbing the cavity without a plan for what happens next just exposes you to defensive wasps at close range, and if the colony isn’t killed in the process, you’ve now created a bigger opening for them to use. The right sequence is to identify the entry point, leave it alone, and decide on a treatment approach before touching anything.
Should You Leave the Nest Alone or Call a Professional?
Not every wasp nest demands immediate professional intervention, but the calculation changes quickly once the nest is inside a wall rather than out in the open. Here’s how to weigh it.
When an out-of-the-way nest may be left undisturbed
If you’re dealing with a small paper wasp nest in an exposed, low-traffic spot, say, tucked under a soffit at the far corner of a shed, away from doors, windows, and areas people or pets regularly pass through, and no one in the household has a sting allergy, it can sometimes be left in place. Paper wasps are generally not aggressive unless the nest itself is directly disturbed, and they play a role in controlling other garden pests through predation. Many nests like this are naturally abandoned at the end of the season anyway once the colony dies off with the onset of cold weather.
That calculus does not really apply to anything behind siding, though. A wall-void nest is not truly “out of the way” in the same sense, because the colony is inside your home’s structure, expanding in a space you can’t monitor, and any nest large enough to notice from repeated wasp traffic is already established rather than a fresh, small start.
When a wall-void nest, sting allergy, or high-traffic location calls for professional help
A nest confirmed to be behind siding or inside a wall cavity is the clearest case for calling a pest control professional rather than attempting DIY treatment. Hidden colonies are difficult to size up accurately from outside, store-bought sprays aimed into a small gap rarely reach deep enough to kill the whole nest, and a wall void gives survivors a direct path toward your living space if the job is done halfway. Add in a household member with a known allergy to stings, a nest situated near an entryway, patio, or children’s play area, or a nest discovered in late summer when yellowjacket colonies are at their largest and most defensive, and DIY treatment stops being a reasonable option. Our team’s wasp control services in Vancouver are built specifically around locating and treating nests hidden inside wall voids, attics, and other structural cavities that DIY methods can’t safely reach.
Professional technicians bring tools that make hidden-nest treatment far more reliable than guesswork from outside, including acoustic listening equipment and thermal imaging to pinpoint the nest’s exact location and size within the wall before any treatment begins. That upfront mapping step is a big part of why a properly done professional treatment succeeds where a can of spray through a crack usually falls short.
How a Nest Behind Siding Is Treated and Checked for Activity
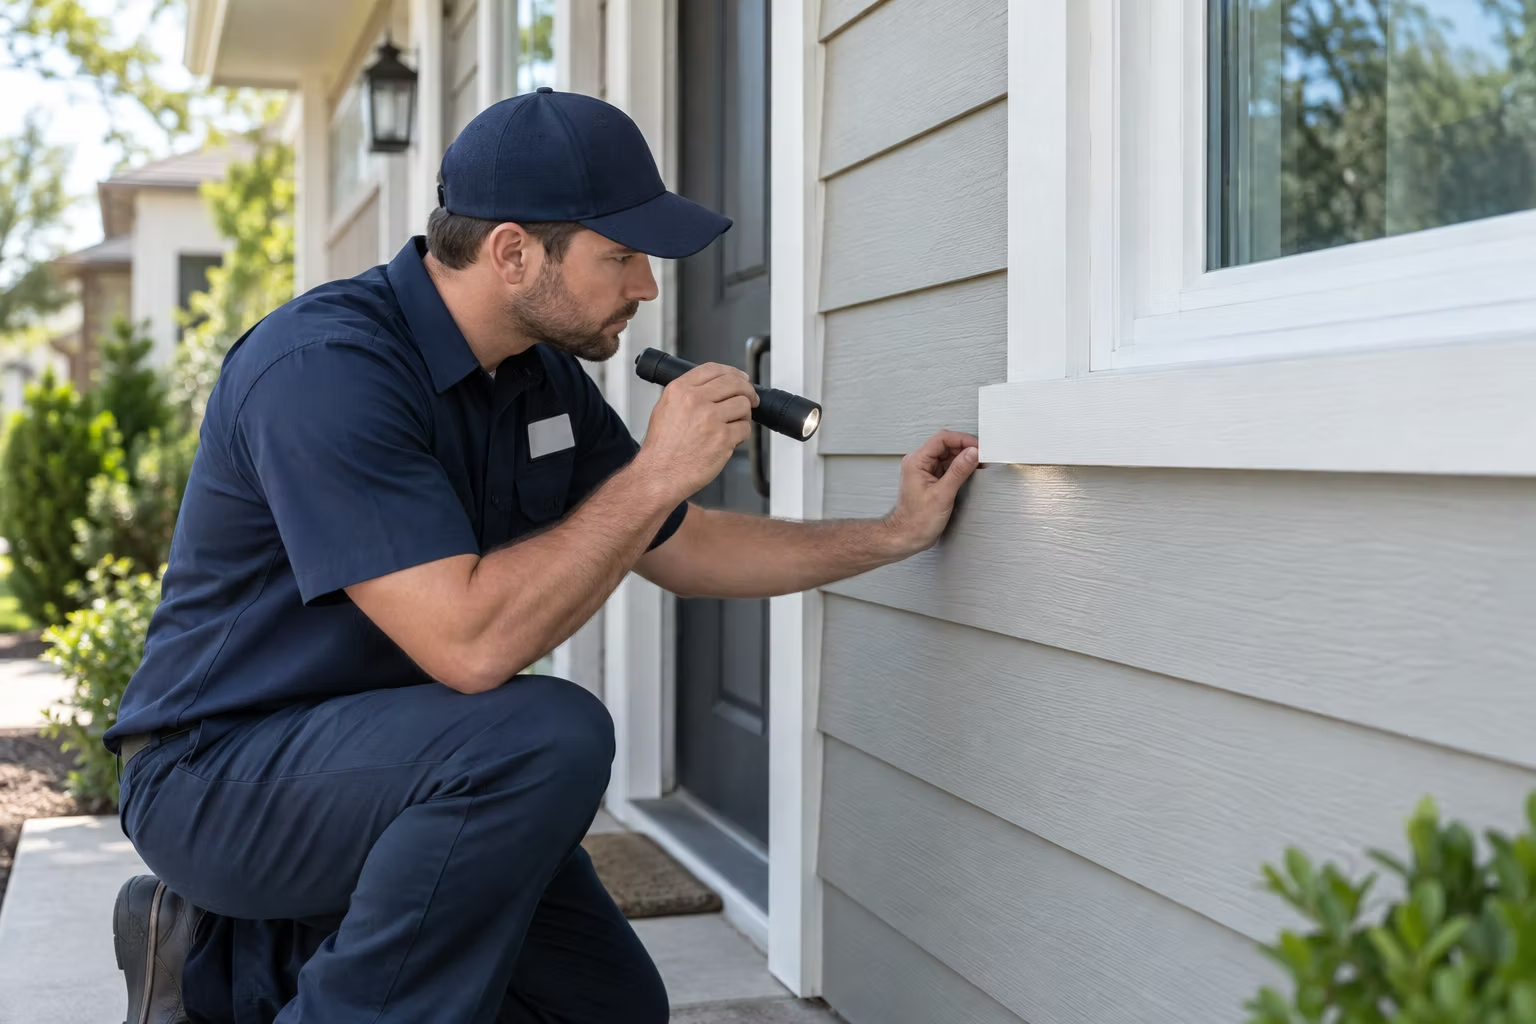
Treating a nest you can’t see requires a different approach than treating one hanging in plain sight, and understanding why helps set realistic expectations for the process.
Why treatment for an exposed nest may not reach a hidden colony
Liquid insecticide sprays work reasonably well on an exposed paper wasp nest because you can saturate the whole visible structure directly. That same approach largely fails against a nest tucked inside a wall cavity, because the spray can’t travel far past the entry point and rarely reaches the full colony, larvae included, deeper inside. Spraying blindly into a small gap can also provoke defensive wasps to boil out toward whoever is holding the can, without reliably solving the underlying problem.
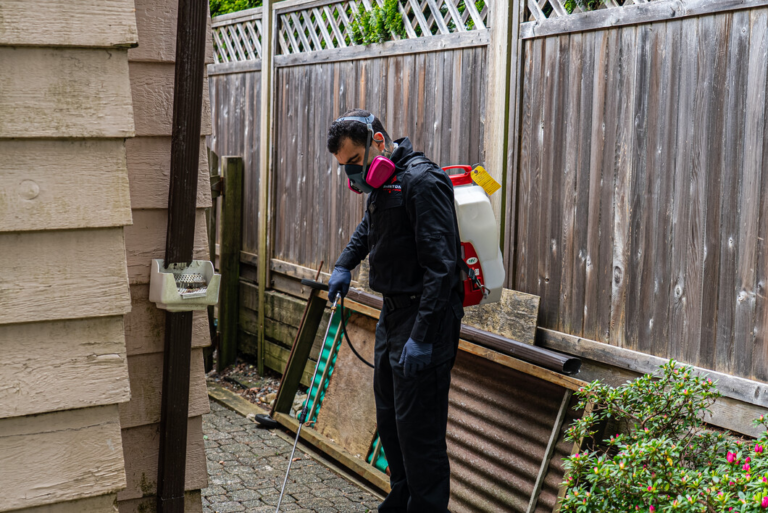
This is why professional treatment for wall-void nests generally relies on insecticidal dust rather than liquid spray. Dust is applied through the entry point and, when needed, through small access holes drilled just above and below the suspected nest location. Because dust clings to the wasps’ bodies and to nest surfaces, foraging workers carry it back into the colony themselves, which lets the treatment reach areas a spray physically cannot. Treatments are frequently timed for pre-dawn or evening hours, when the whole colony is back inside the cavity and less active, which improves how thoroughly the dust spreads through the nest.
How to confirm wasp activity has stopped before repairs
The entry point is deliberately left open during and immediately after treatment. Sealing it too soon is exactly the mistake that traps surviving wasps and pushes them toward the interior of the house, so professionals wait and monitor rather than closing the gap right away. Full elimination after a proper dust application typically takes something in the range of 24 to 72 hours, since the dust needs time to spread through the colony and take effect.
Confirming the nest is actually dead, not just quiet for an afternoon, means watching the entry point again over multiple days at the same times you’d expect to see foraging activity. No traffic in or out, no fresh buzzing from inside the wall, and no new debris at the opening over that observation window are the signs that the colony has been fully eliminated rather than just knocked back temporarily. Only once that’s confirmed should anyone move on to sealing the entry point and repairing the siding.
How to Repair the Entry Point and Prevent Another Nest
Once the colony is confirmed dead, the repair step is what actually prevents the same spot from being reused, either by another wasp colony or by moisture and pests that move in once there’s an unsealed gap in your exterior wall.
Remove nest material and inspect for damage when access is needed
If the nest was accessible, whether through the original gap or through small holes drilled for treatment, removing the leftover nest material is worth doing rather than leaving it sealed inside the wall. Old nest debris can attract secondary pests like carpet beetles or ants that feed on dead insects and paper nest material, and it can hold moisture against the wall sheathing over time. This is also the point to check for any damage the colony may have caused: wasps sometimes chew and expand existing wood gaps to enlarge their entry point, and a nest that sat in place for a full season can occasionally leave the interior wall surface stained or the drywall slightly softened from trapped moisture. Catching that now, before the wall is closed back up, is far easier than discovering it later.
Repair gaps without blocking siding drainage or ventilation openings
Once activity is confirmed stopped, the entry point should be sealed with exterior-grade caulk, fine mesh screening, or foam, depending on the size and location of the gap, and the rest of the exterior should get a quick check for other openings wasps could exploit next season. If your property has several vulnerable gaps around siding, vents, or rooflines, a professional exclusion work service can identify and seal those entry points correctly the first time, without compromising drainage or airflow. This is also where it pays to know your siding a little better than most homeowners do: vinyl and other siding systems are built with small weep holes at the bottom edge specifically to let moisture drain out from behind the panels, and those holes are not the same thing as the gap a wasp colony used to get in.
Sealing a genuine weep hole or a ventilation opening by mistake, thinking you’re being thorough, traps water against the wall sheathing and can lead to rot or mold over time, which is a far more expensive problem than the wasp nest was. The distinction matters: an entry point a colony carved out or exploited, often an irregular gap, a chewed opening, or a seam that’s come loose, should be closed off, while the small, evenly spaced factory-made weep holes along the bottom of siding panels should be left open. If you’re not confident telling the difference, this is a good moment to have whoever handled the wasp treatment take a look at the repair too, since they’ll usually know the siding system well enough to seal correctly the first time.
Conclusion: Resolve the Nest Before Repairing the Siding
A wasp nest behind siding rewards patience over speed. Confirm the activity pattern, identify the species where you can, keep everyone clear of the entry point, and resist the urge to seal or dig into the wall before the colony is actually gone. Whether that treatment comes from careful DIY dusting or, more reliably for wall-void colonies, from a professional with the tools to locate and treat the nest properly, the repair and sealing step should always come last, once activity has genuinely stopped rather than just quieted down for a day. Get that order right, and you end up with a wall that’s both wasp-free and properly weatherproofed, instead of trading one problem for another.
Frequently Asked Questions
1. Can wasps nesting behind siding get inside the house?
Yes, and it happens more often than people expect. Wasps can find their way from a wall cavity into living space through gaps around electrical outlets, light fixtures, vents, or thin spots in interior drywall, especially once a colony grows large enough that workers start exploring beyond the original entry point. Seeing an occasional wasp indoors with no visible nest anywhere outside is actually a classic sign of a wall-void colony rather than a one-off stray insect that wandered in through an open door. This is one more reason hidden nests near shared walls with the house shouldn’t be left unaddressed.
2. Will wasps reuse a nest behind siding next year?
Not the same nest, but potentially the same spot. Wasp colonies are annual: the workers and old nest structure die off over winter, and only new queens survive to start fresh colonies elsewhere the following spring. That means the physical nest itself won’t be reoccupied, but if the original entry gap is never actually repaired, a new queen can easily find and use that same convenient opening to start a new colony the following season. Properties with a recurring wasp problem often benefit from a seasonal maintenance program that catches new nest activity early each spring, before a colony has the chance to establish itself again. That’s the practical reason the repair step matters just as much as the treatment step: closing the access point is what actually breaks the cycle.